GUI Operating Instructions
This is the operating instructions for the RBXWallet GUI. Whether running on Windows or Mac, the details will remain the same unless otherwise specified.
This topic is also covered with a video tutorial on the previous page.
Overview
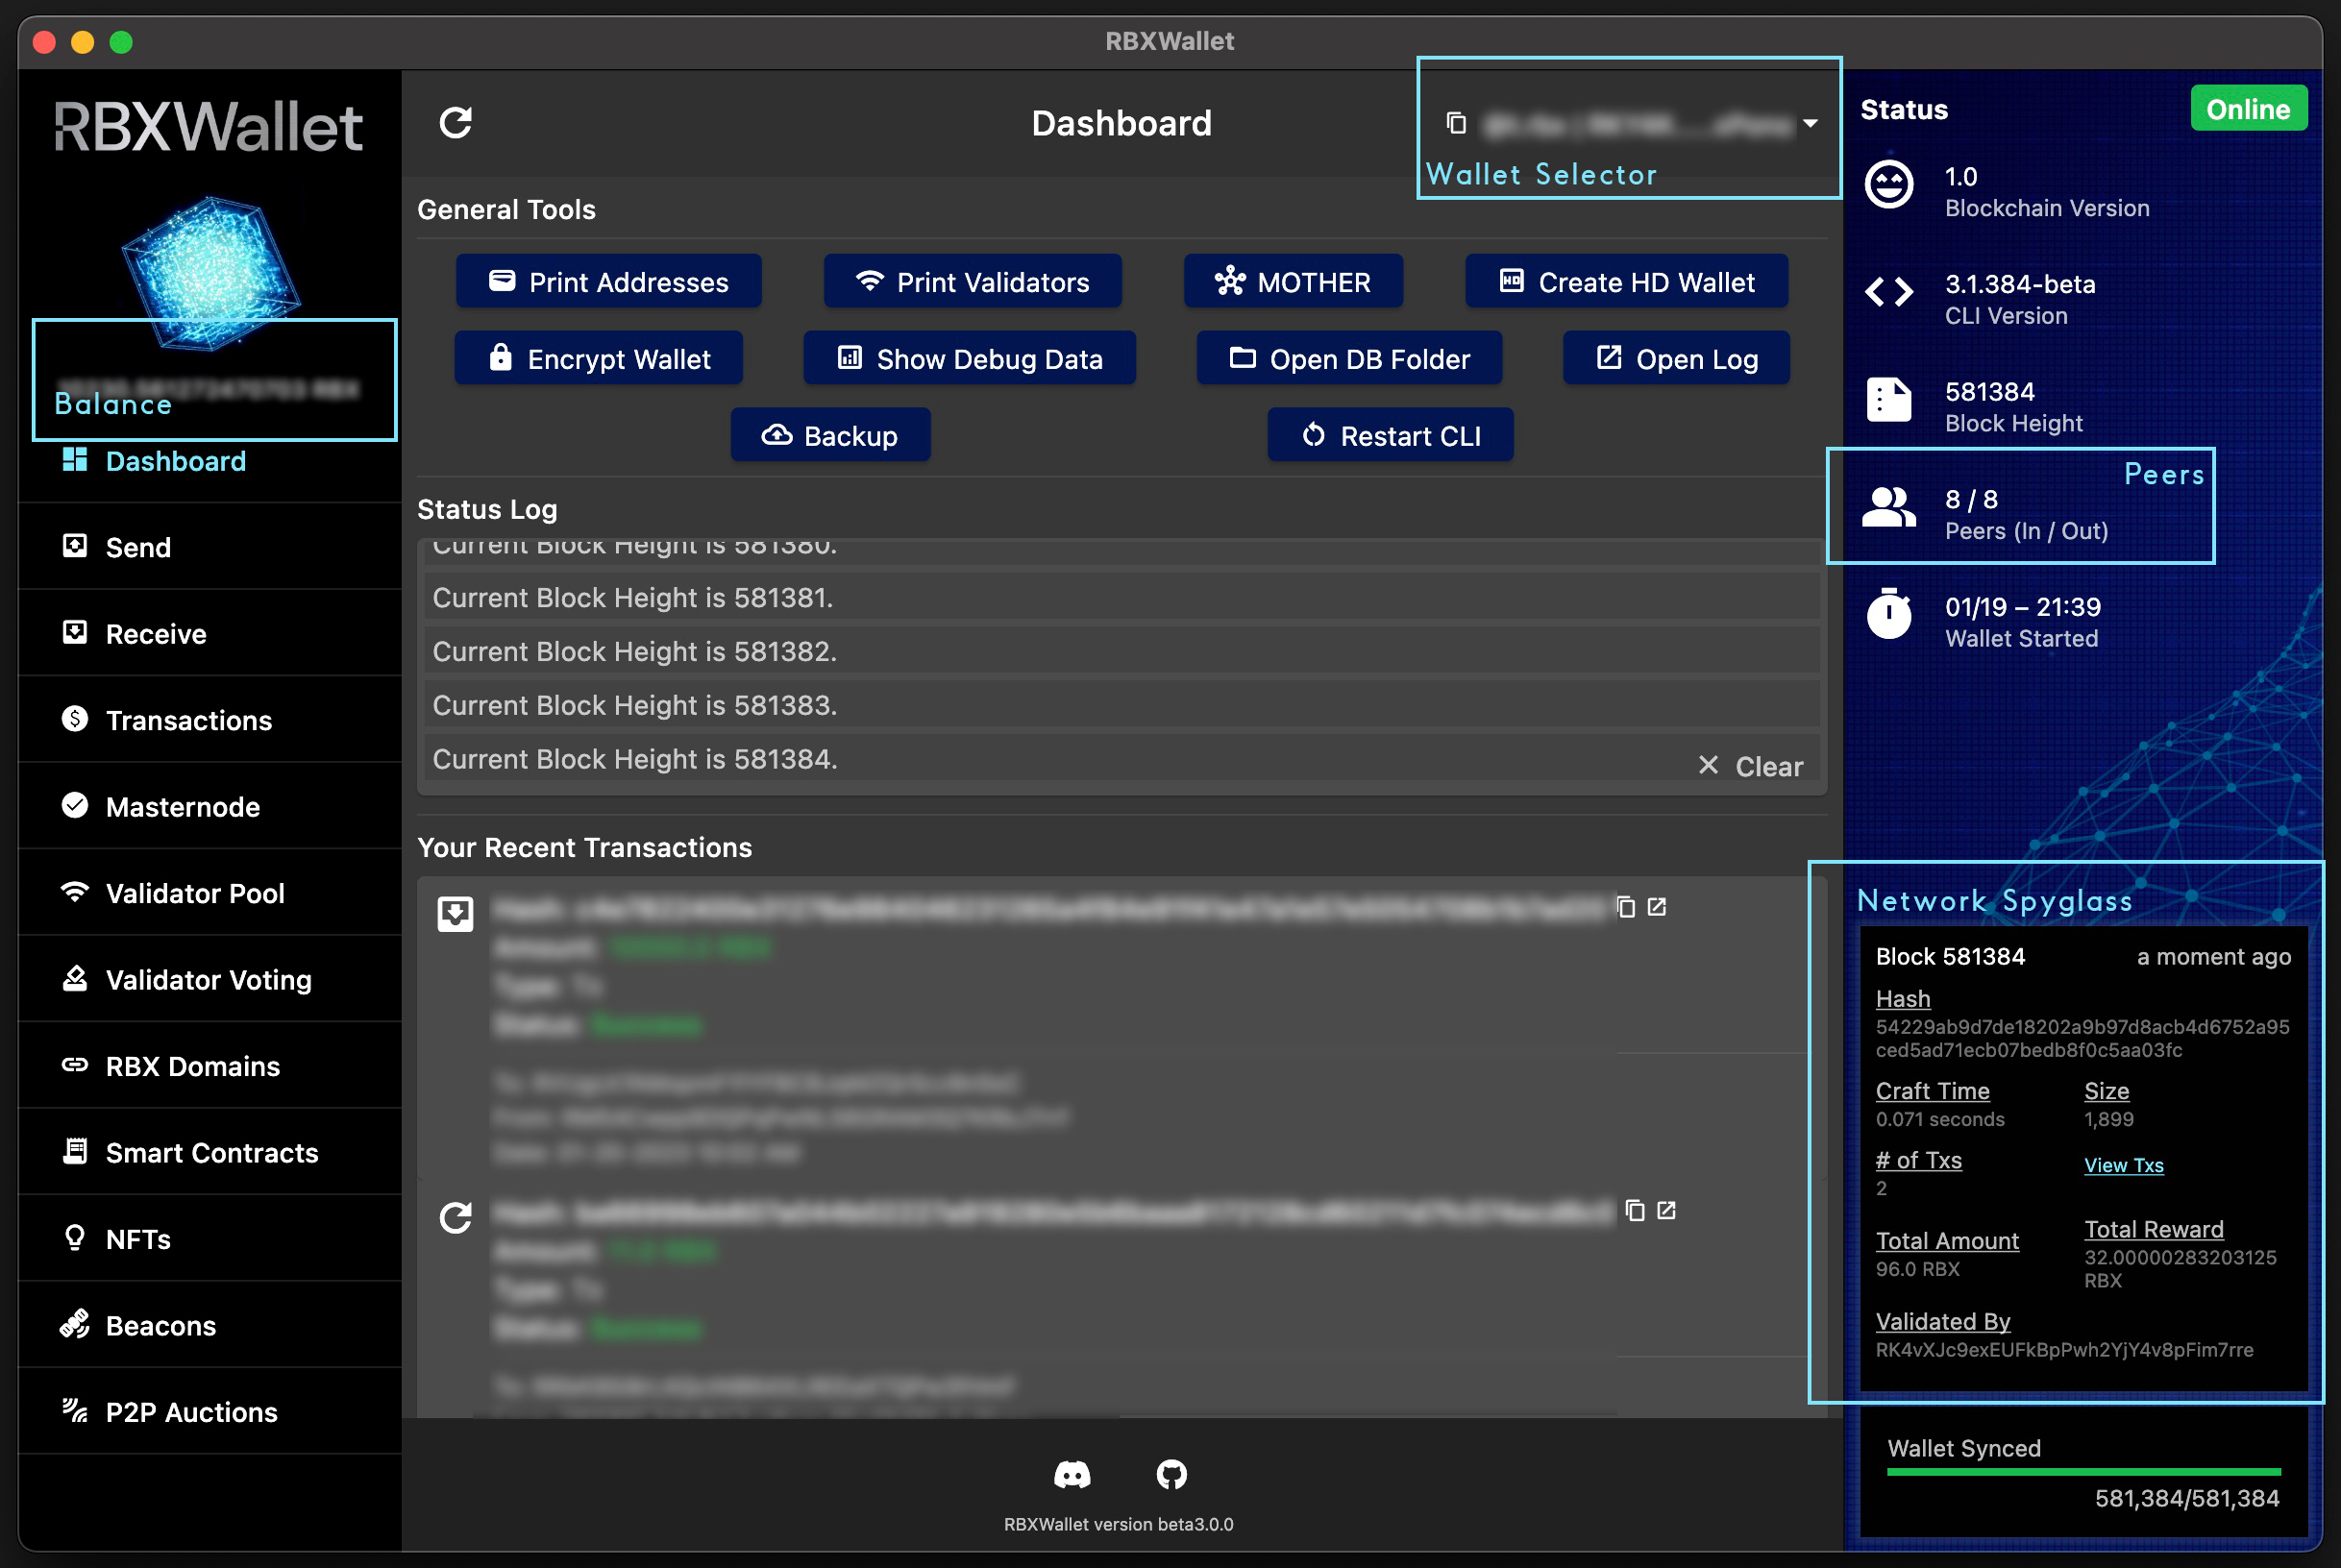
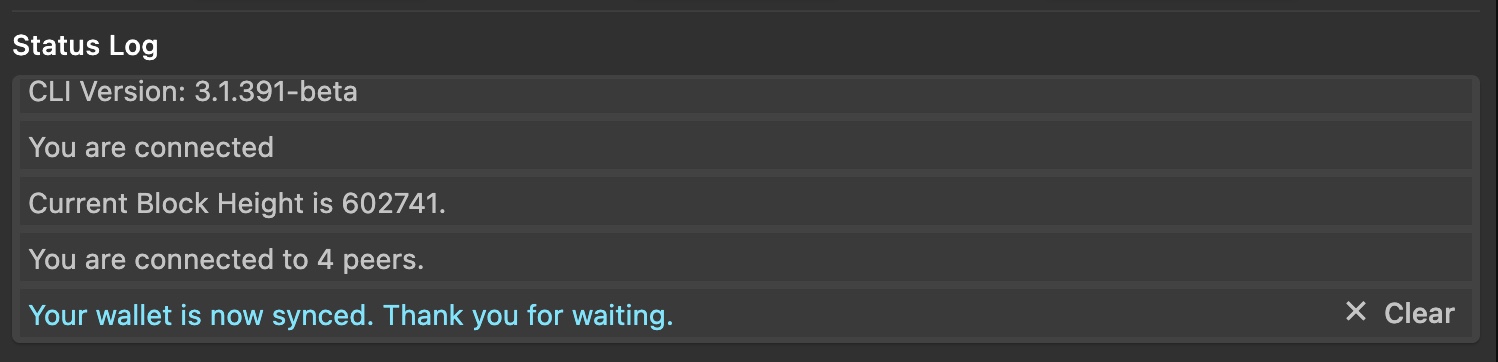
When you load the wallet, it will begin to sync with peers on the network. You can see how many peers you are connected to in the right side bar [x/8 Peers (In / Out)]. Your local block height is displayed below in the Spy Glass (dark box below). To find out what the network's block height is, visit the Explorer.
Key Pairs
To get started, you will need a keypair. You can either generate a new one or import an existing one.
You can create/import keys at any point. This is one of the few operations permitted before reaching block height.
Generating Keypair
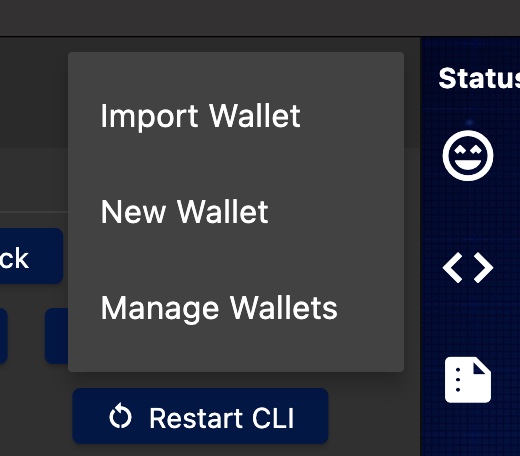
Near the top right of the Dashboard, click the dropdown that says
Wallets.Click
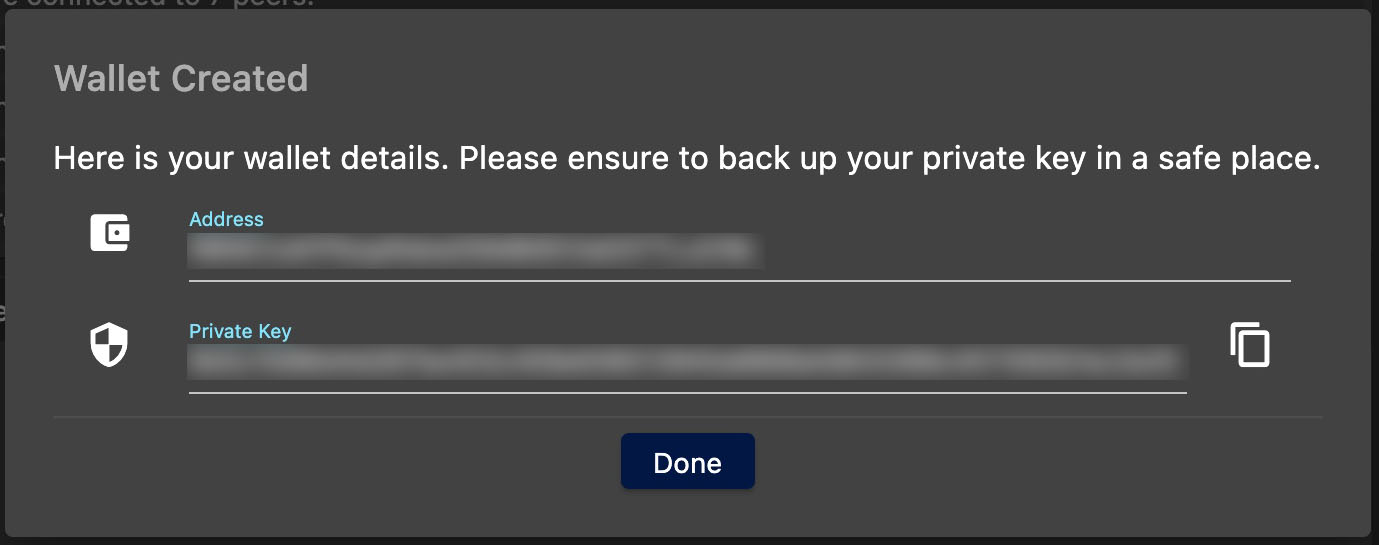
New Wallet.
- A windows will pop up with your keypair information.
Be sure to copy this information to a secure place. If you computer crashes, no one will be able to recover your private key as it is private to only you.
Importing Keypair
Near the top right of the Dashboard, click the dropdown that says
Wallets.Click
Import Wallet.
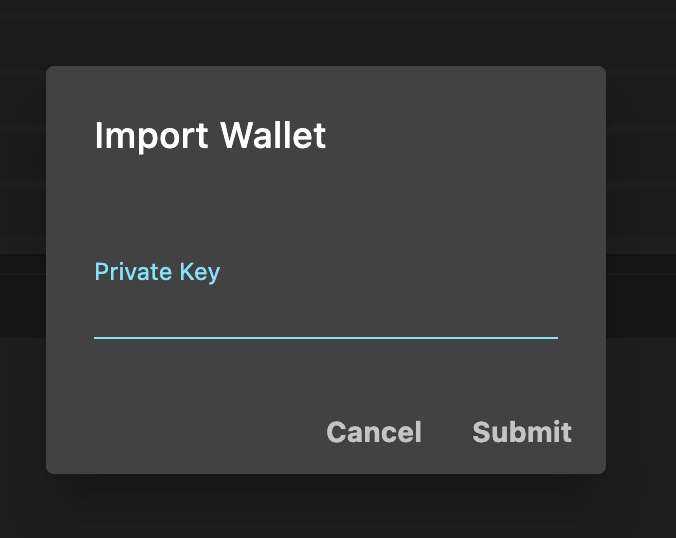
- Paste in your existing Private Key and click
Submit.
You can also create and HD wallet OR encrypt your wallet but those topics will be covered in the Advanced Operating instructions.
Interface
The RBX GUI is broken into 3 columns.
- The first column includes a list of primary screens you can access.
- The second column changes depending on what menu item you have selected
- The third column includes connectivity status, information about the chain, and a spyglass into your local database.
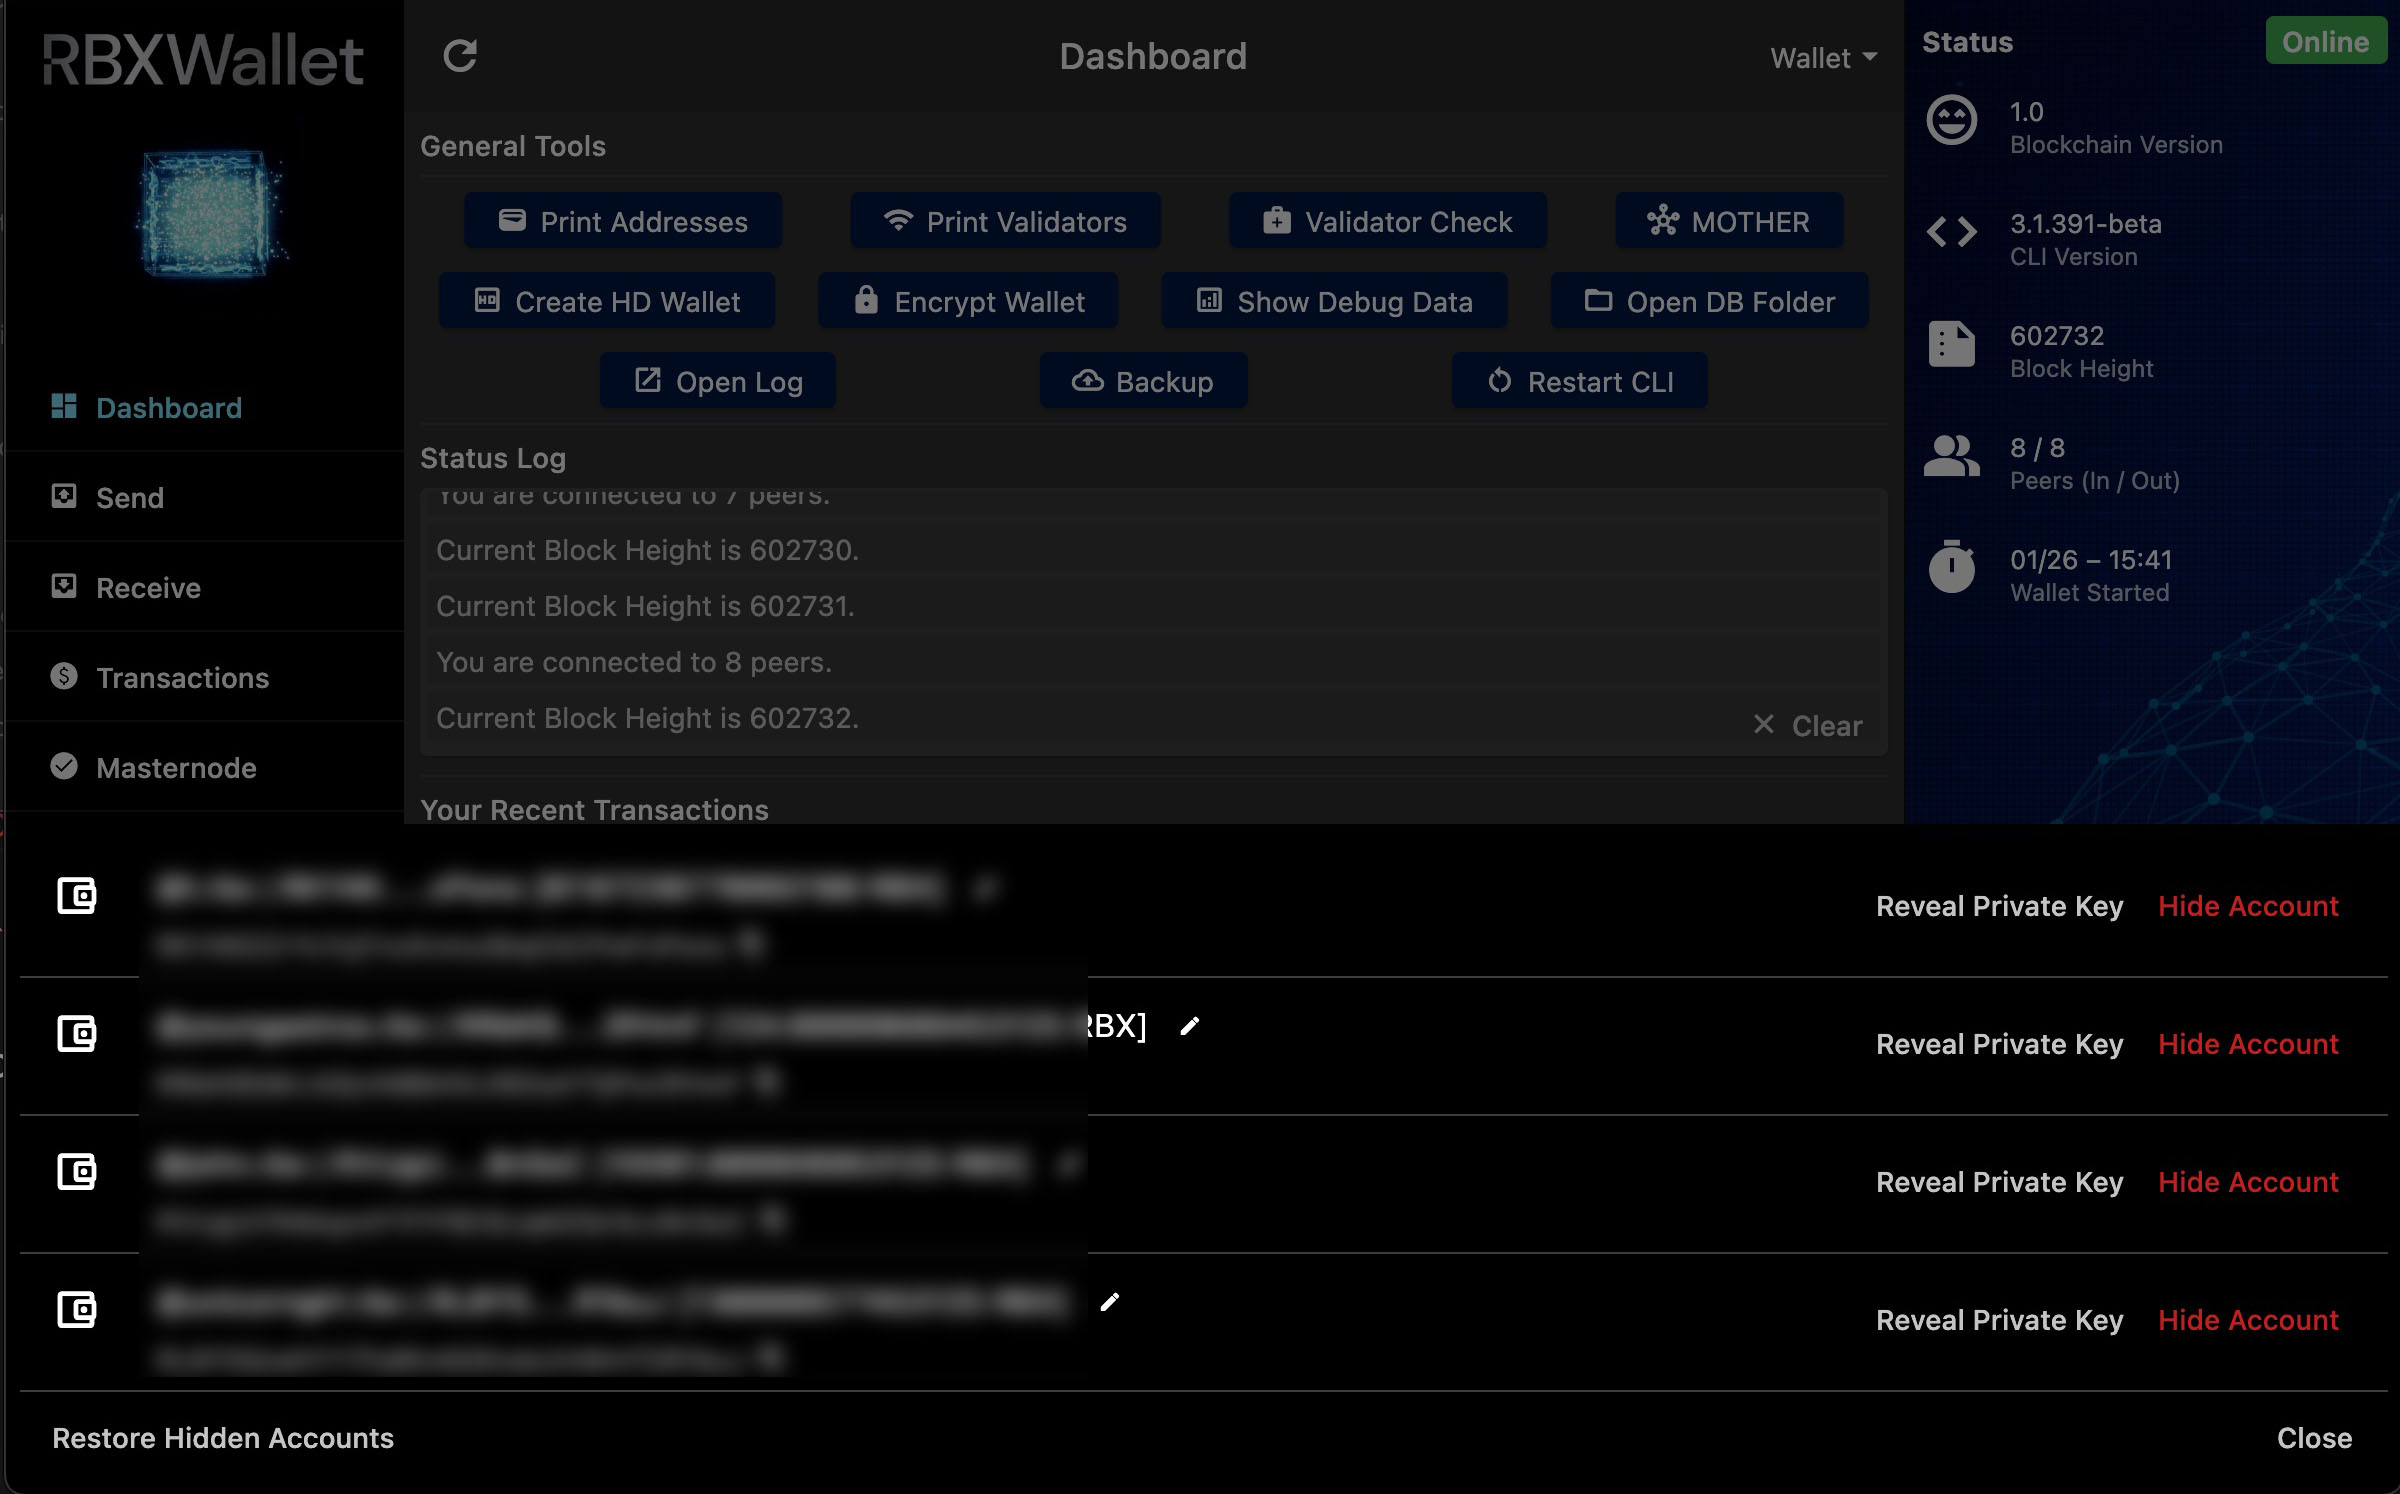
Global Wallet Selector
In the top right of most screens is the Global Wallet Selector. Use this menu to toggle between your wallet as well as importing/creating new keypairs.
You can click the Manage Wallets button at the bottom of the dropdown menu to view/manage all your wallets in one place. Through this you can:
- See the address & balance of your wallets
- Provide a friendly name for your wallet (local only)
- Reveal your private key for any wallet
- Hide your account (local only for organizational purposes).
If you have mistakenly hidden a wallet, you can click
Restore Hidden Accountsto reveal them again.
Primary Screens
Dashboard
- General Tools: (see below)
- Status Log: Logs the status of the application locally.
- Your Recent Transactions: A monitor of all recent transactions pertaining to any of your wallets
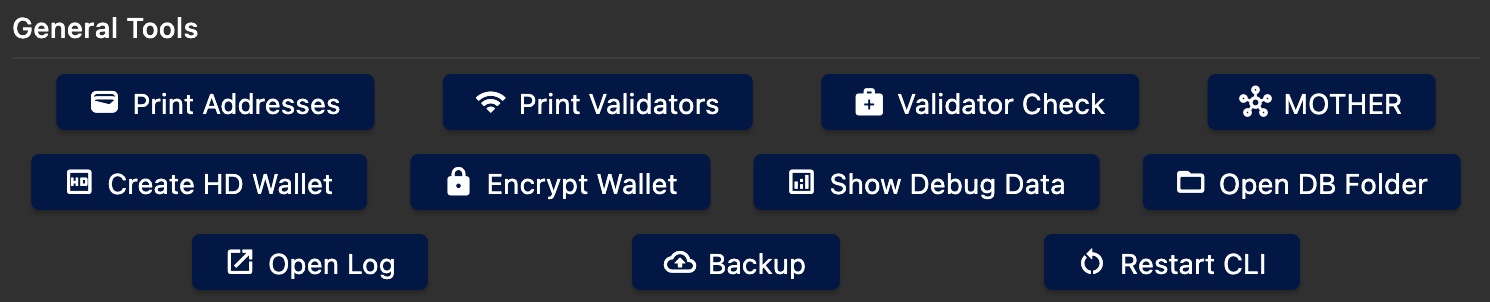
General Tools
In the top center of the Dashboard, there are some general tools that can be accessed.
Print Addresses
Will print out all your addresses contained in your wallet to the Status Log below.
Print Validators
Will print out your validator address (if you are validating).
MOTHER
Monitor Of The Roster [Advanced Feature] A feature to monitor validators you are running remotely in one place.
Create HD Wallet
[Advanced Feature] A feature for creating a Hierarchical Deterministic wallet.
Encrypt Wallet
[Advanced Feature] A feature to encrpyt your keys. Enabling this will require you to input your password every time you want to create a transaction.
Show Debug Data
Launches a window displaying debug data.
Open DB Folder
Will open your local databases/configration folder in explorer (Windows) or finder (MacOS).
Open Log
Will open your local log file in your default text editing program.
Backup
Feature to backup your keys and/or your NFT media.
Restart CLI
Will restart the CLI in the background without closing the GUI.
Send
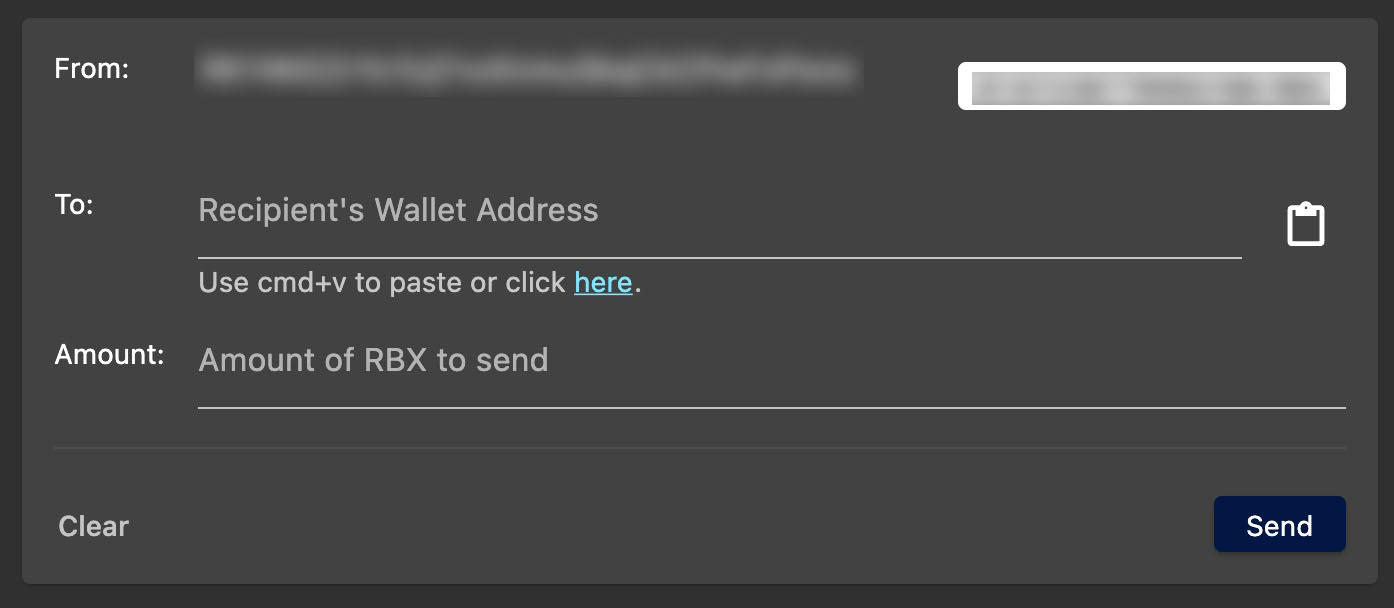
Ability to send RBX to another address.
- To: Paste in the receivers wallet address or an
RBX Domain. - Amount Input the amount of RBX you'd like to transfer.
The funds will be sent from the selected wallet. If you want to change the sender, change the wallet in the
Global Wallet Selector
Receive
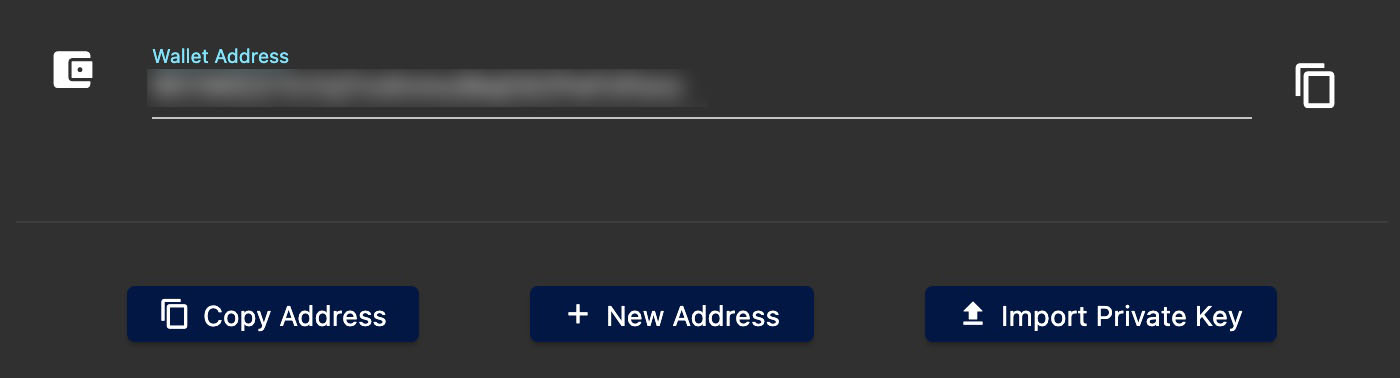
A place to view/copy your address which you can send to someone to request RBX from. You can also create a new address or import a private key from this screen as well.
If you want to change the recipient, change the wallet in the
Global Wallet Selector
Transactions
View all transactions that pertain to your wallets. You view all the details about the TX including the sender, receiver, the hash, what type of transaction it is, and the data (when applicable). You can also open the TX in the explorer.
By default, all transactions will be visible, but you can filter by
Pending,Successful,Failed, orMinedin the top navigation of this screen.
Masternode
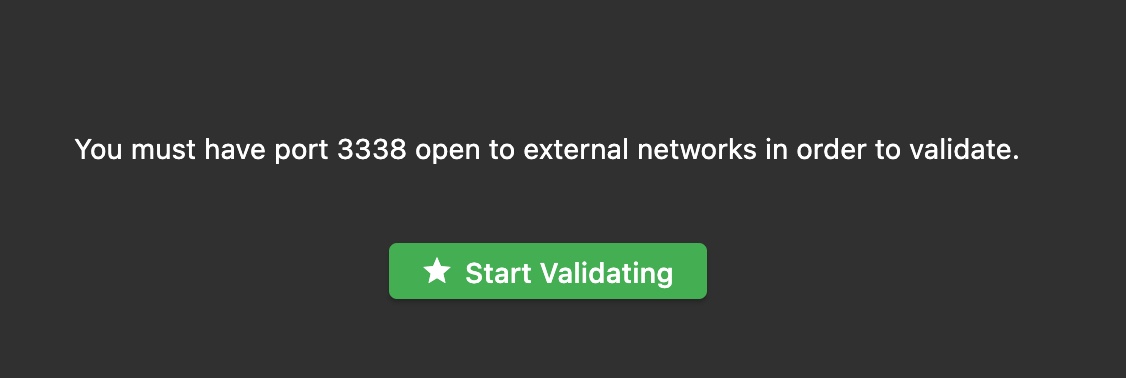
Validator Inactive
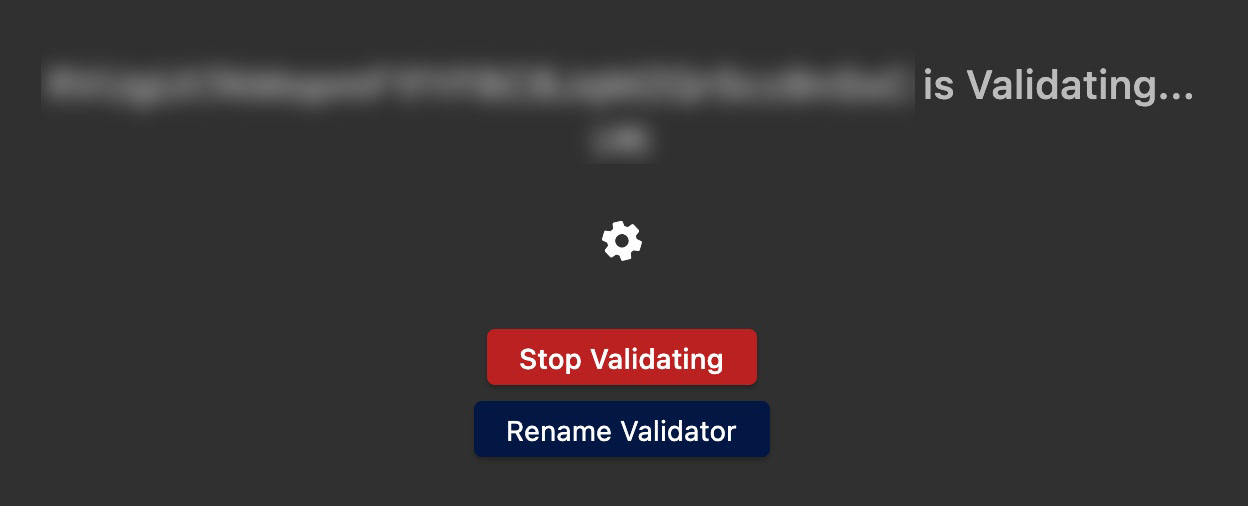
Validator Active
This is where you can enable your machine/wallet as a validator. It's important to note that:
- Only one validator per address is allowed.
- Only one validator per IP address is allowed.
- Static IP addresses are recommended to prevent missed tasks if/when your IP address is renewed on a dynamic IP.
- It's recommended you open port
3338as an incoming port. If this is a home network, you'll need to setup port forwarding from your router to the specific local IP address of your machine.If the network determines you have multiple validators using the same address or IP address, a red warning will be displayed at the top of the GUI with instructions on how to correct it.
Validator Pool

View the status of your local validator and/or search for other validators on the network.
Validator Voting
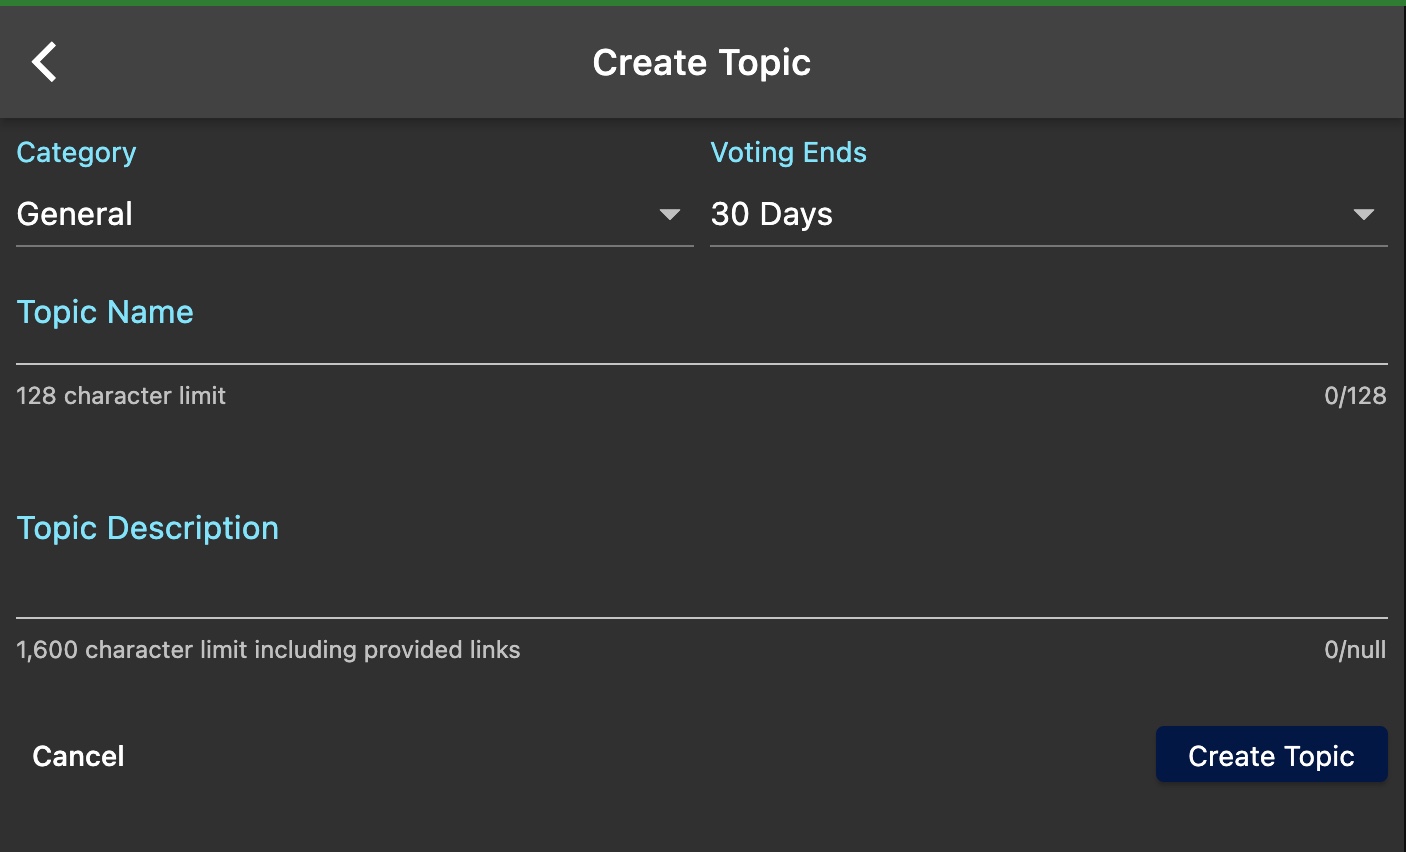
Validators can create topics to be voted on regarding network updates.
Creating Topics
- The cost is 1 RBX per topic + tx fee (which is burned).
- You can only submit 1 topic at a time per validator.
- Your validator must have crafted a block in order to be eligable to create a topic.
Voting
- Any validator is eligable to vote.
- Simply review the information provided by the topic creator and cast your vote as YES or NO.
- The topic vote session will end at end date of the topic OR whenever a majority is determined - whichever comes first.
RBX Domains
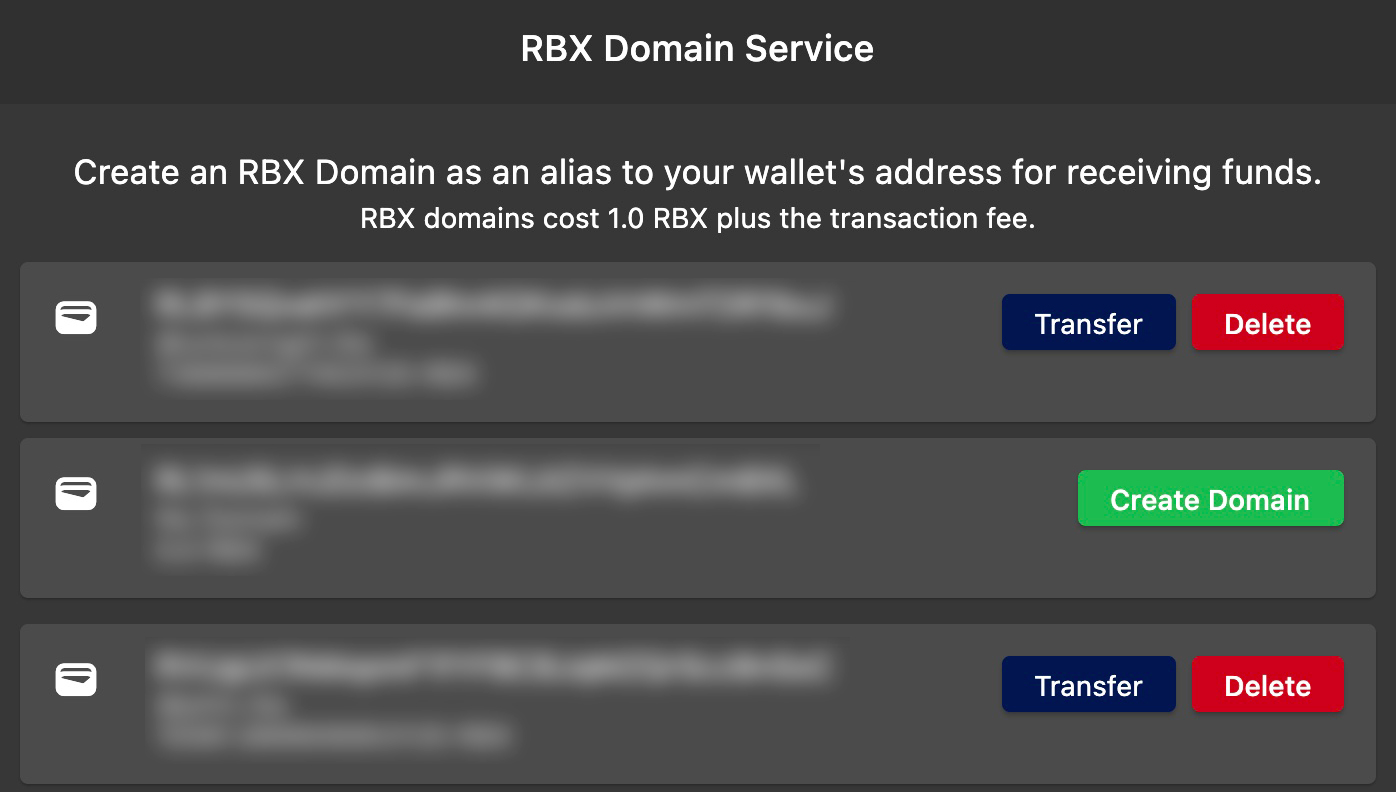
You can create an RBX Domain through the ADNR service. This allows you to receive RBX or NFTs via your domain name rather than your address.
- The cost is 1 RBX per domain + tx fee (which is burned).
- You can transfer an RBX domain to another address.
- You can also delete an RBX domain.
Smart Contracts
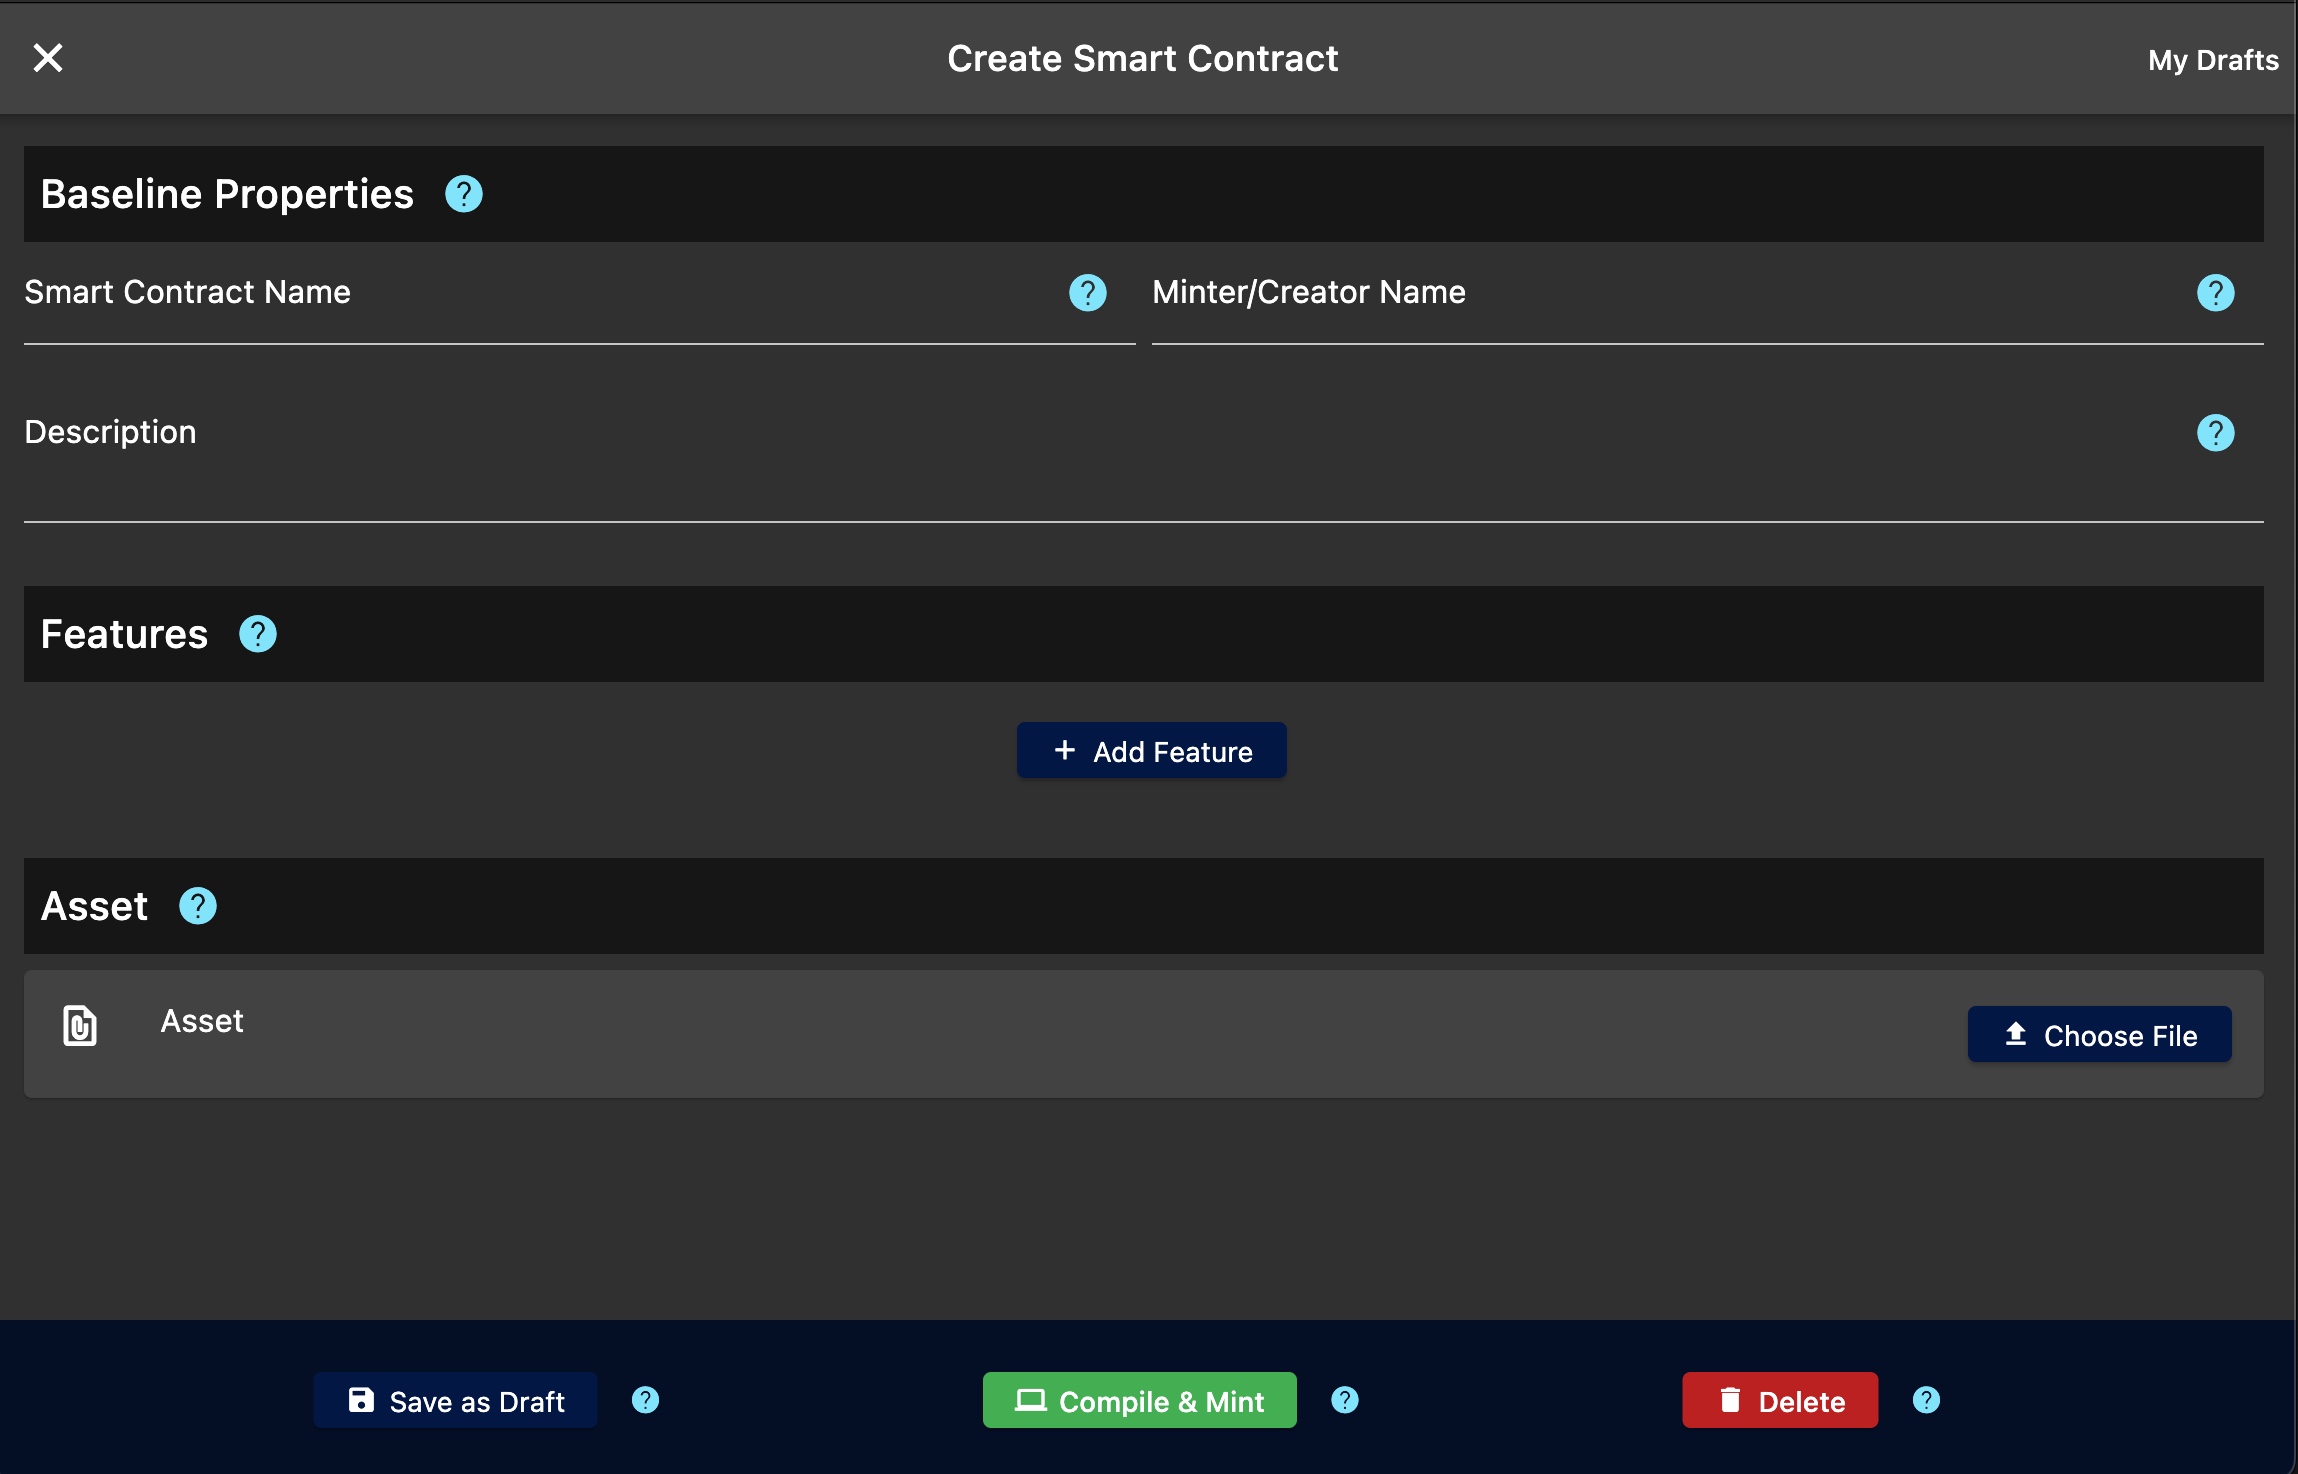
This is where you can compile Smart Contracts and mint them into NFTs.
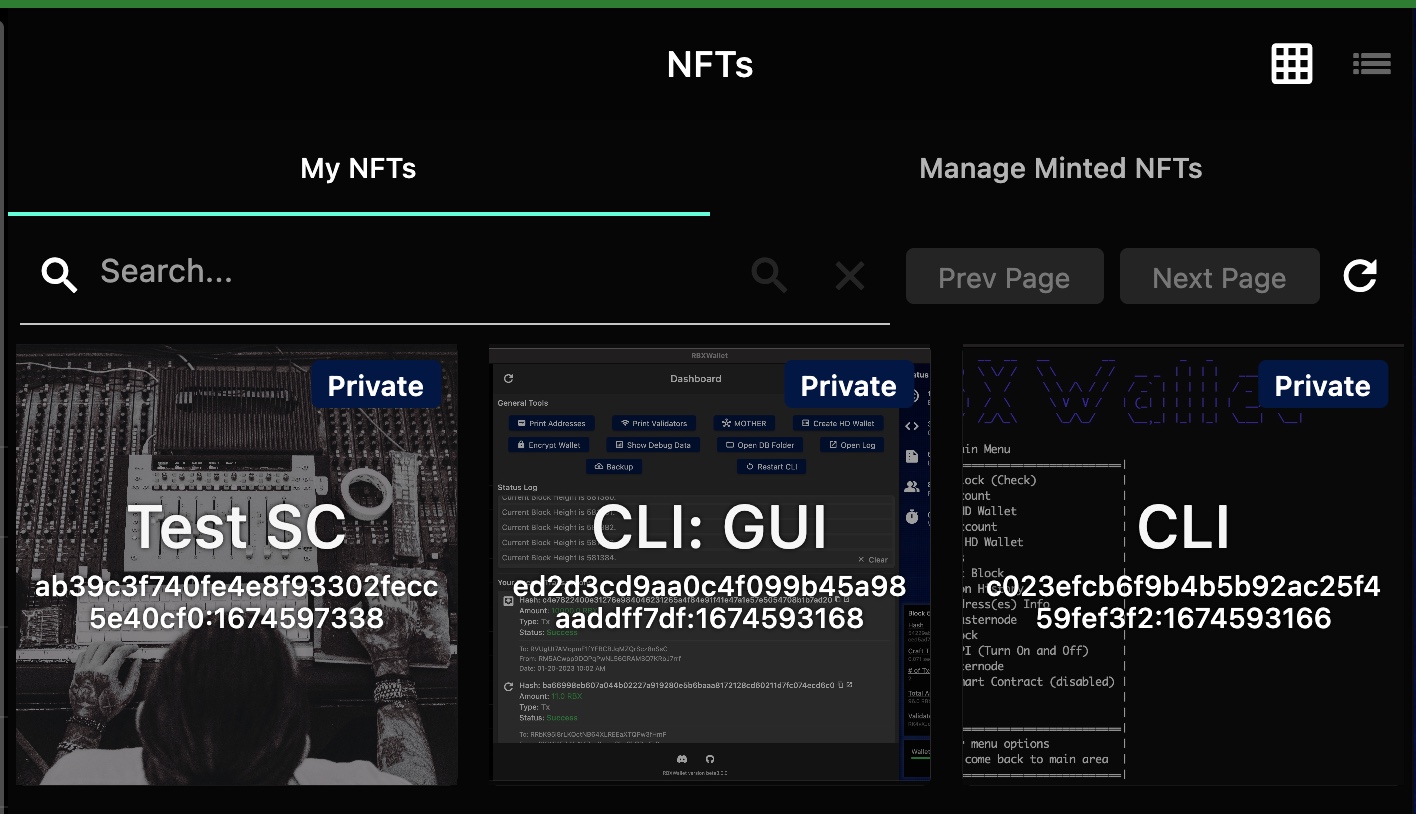
NFTs
This is where all your NFTs will be listed. Please read further in the NFTs section.
Beacons
This allows you host or add non-default media beacons.
Add Remote Beacon
Add an existing beacon to foreign nodes to use that relay instead of default ones on the RBX network. Configure your wallet to use a remote beacon for media transferring rather than using the default RBX network beacons. You will need to know the IP address of the remote beacon. If that beacon is using the non-default port, provide that as well. The beacon name is a friendly name visible only to you.
Create / Host Beacon
Create a beacon if you want to be the owner of the relay of assets. Setup your wallet as a beacon to partipate in media transferring on the RBX network. The name is a friendly name only visible to you. You can configure a specific port or just use the default setting. You can also configure whether your beacon is private and how long assets should remain cached.
P2P Auctions
Activating Soon. This is where you'll be able to setup collections and sell/auction them on the network.
Database Snapshots
To reach block height quicker, you can download a database snapshot. The GUI now supports automated snapshot importing if you are far enough behind in blocks.
Download the snapshot and follow the video tutorial below to learn how to import a snapshot. You will be prompted on startup if you meet the snapshot criteria.
Be sure to backup your private key(s) beforehand and this process requires a wipe of your database files.